DIY No-Sew Reupholstery: Advice from an Unqualified Amateur
Around the time when we moved into the house, we were looking for cheapish but nice quality furniture on Craigslist. Lo and behold, we found an ad for a Crate and Barrel loveseat in reasonable condition (a stain on the seat and a small tear on the top side) for $100. So we forked over the cash, stuck the loveseat in the back of the Uhaul we'd rented to move, and brought it back to our basement until I could figure out what to do with it.
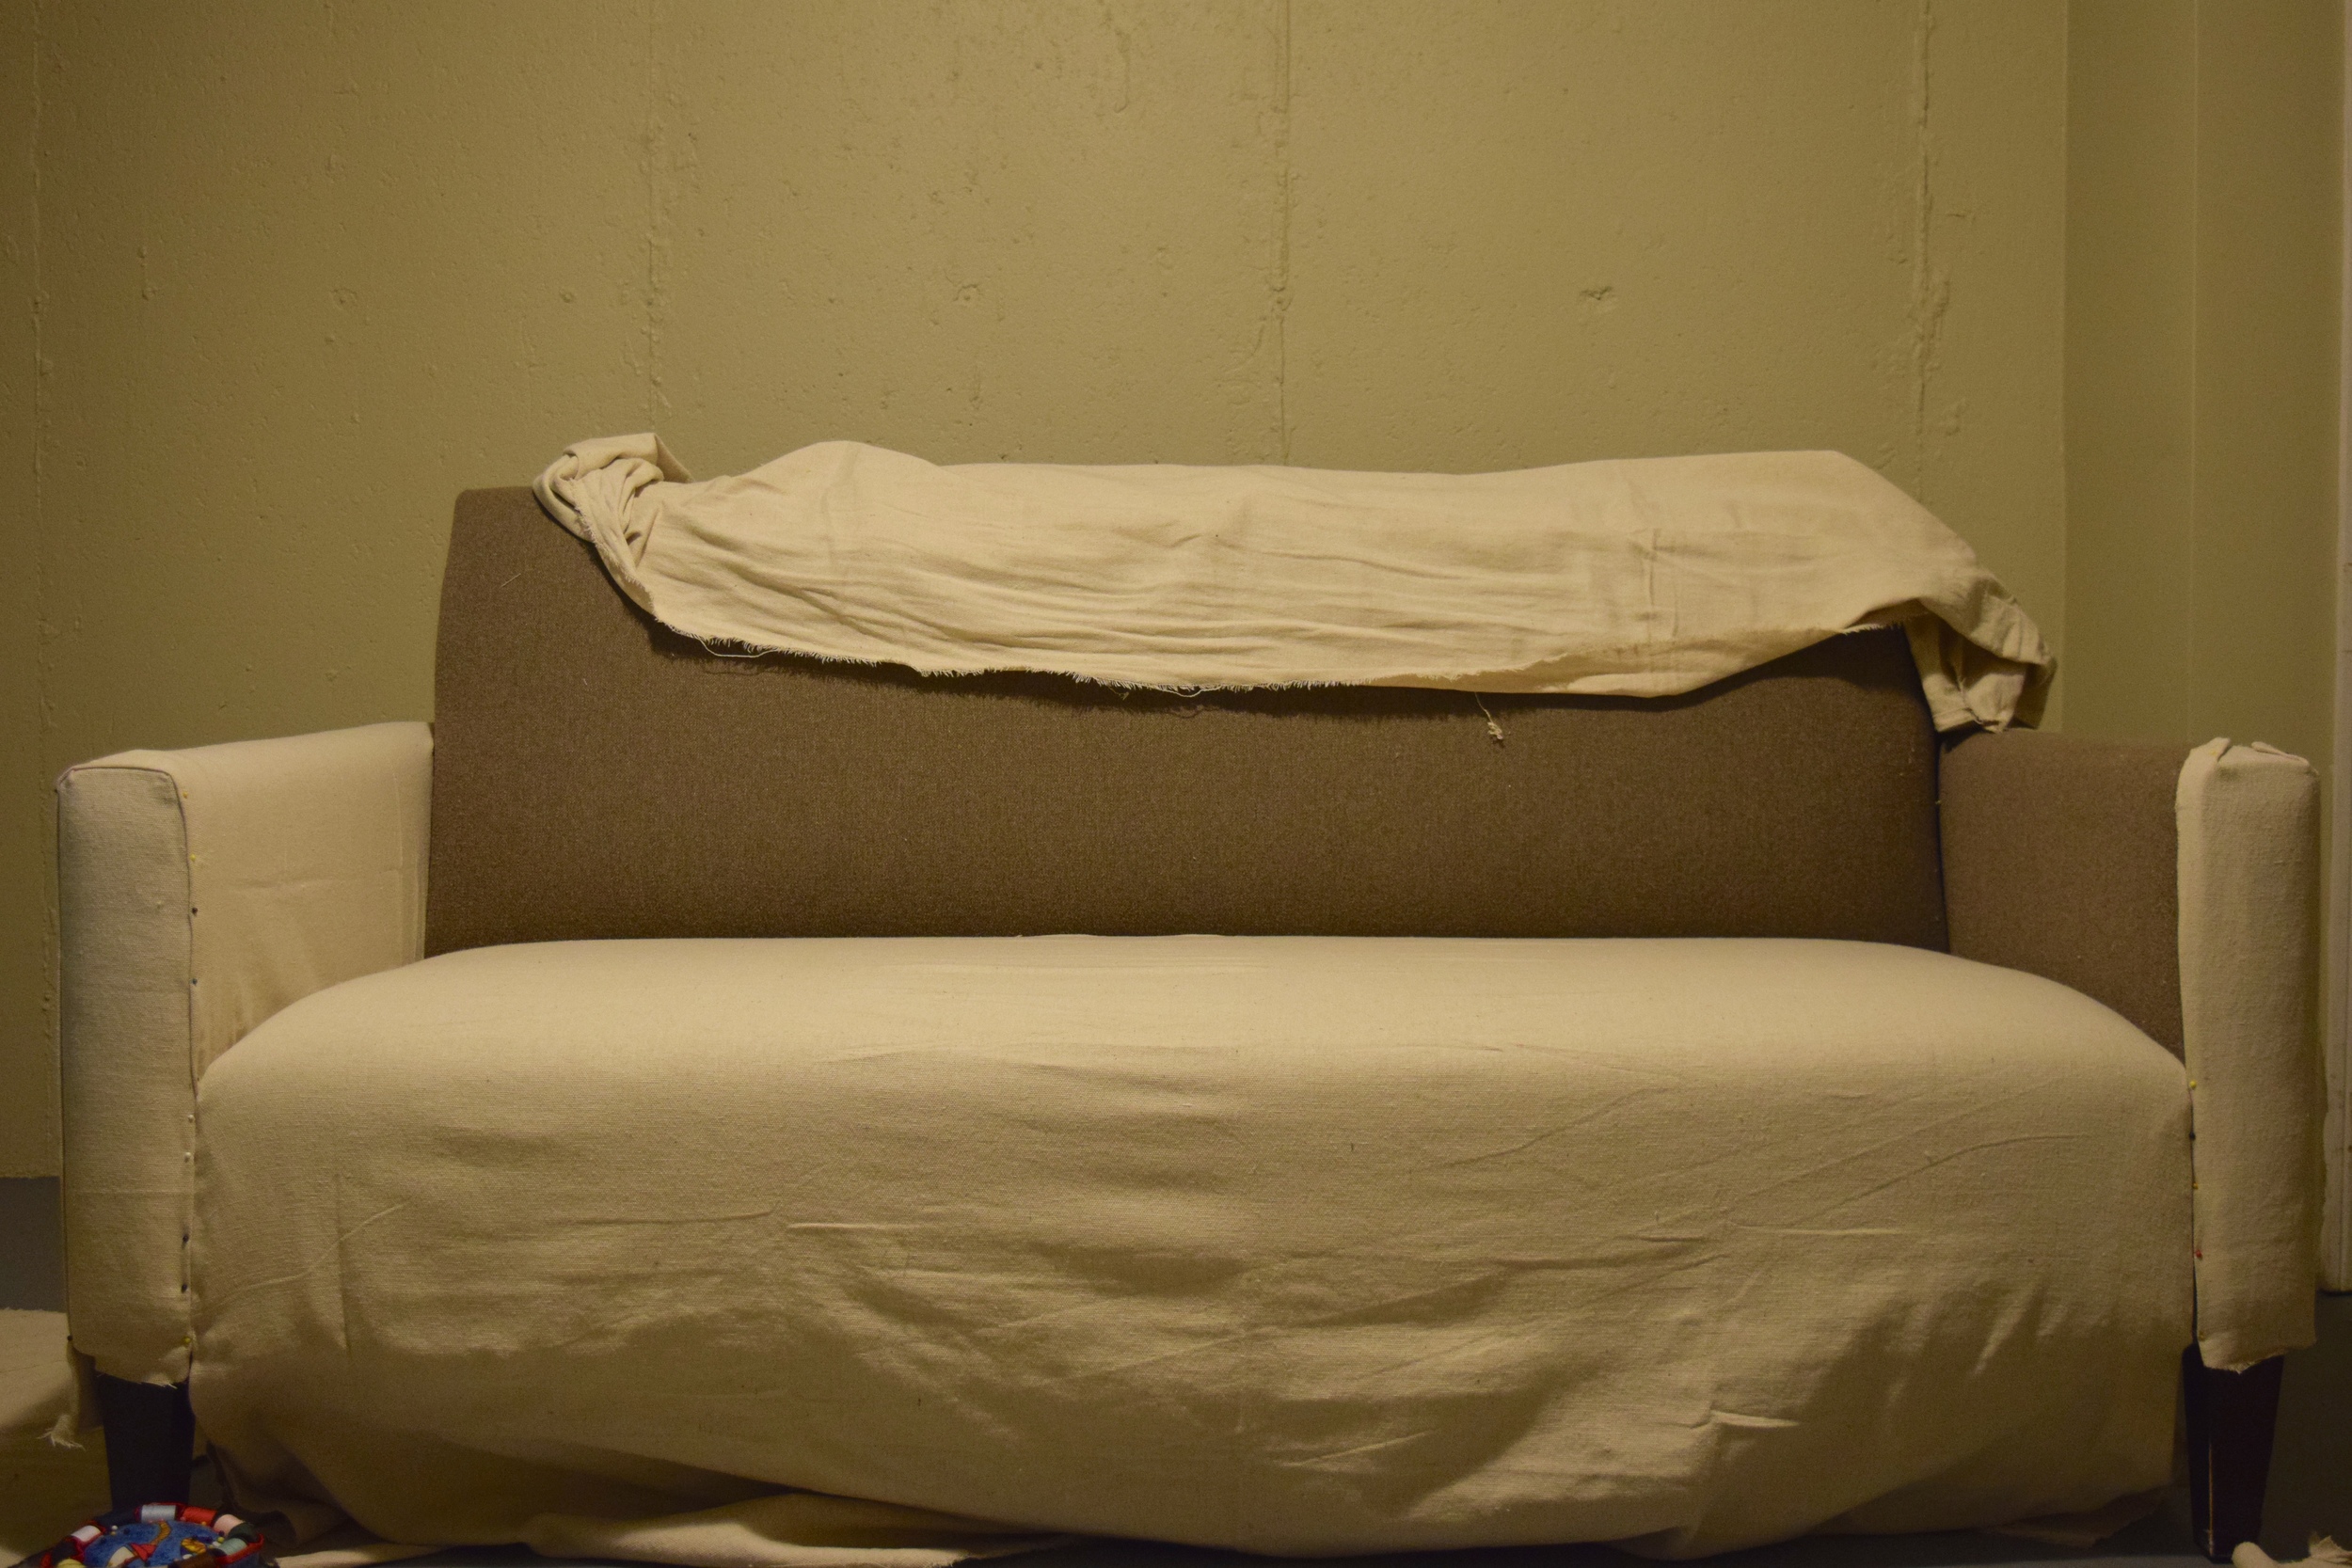
I had realized quickly after bringing it home that the tear on the top was more of a hole - a needle and thread jobber wasn't going to cut it. Or rather fix it...seeing as it was already cut...hardy-har-har. My choices were either slipcovering or reupholstering, so it sat in the basement for a good three months until this weekend, when I finally decided the time had come! Here's what I started with:

Please pardon the lighting...minimal fluorescent light at 10:00 pm doesn't make for good photos!
I didn't really like the original color, so I started thinking about fabrics. Finally, I stumbled upon a pinteresting suggestion: painting drop cloths! The fabric is tough, the color is neutral, and the price is cheap. Win win win! Even if I messed up, it wouldn't matter, because I could just get another one. I picked up two drop cloths at Home Depot and got to work.
I started from the back of the loveseat and started cutting out pieces based on the shape. Once I had some pieces, I just started pinning them on to the loveseat. It took some trial and error - as it turned out, starting from the back was actually a terrible idea, since the back needed to be the last piece so that it could cover any loose edges. (Figures...my luck at guessing is so bad that the SAT class teacher at my high school back in the day told me that I'd be better off just leaving SAT questions blank, seeing as so many of my random guesses were wrong!)
After I pinned all that I could pin, it was time to attach the pieces to the frame of the loveseat. I started with a staple gun, but evidently I had bad luck at guessing again, and the one I had picked at random at Home Depot wasn't nearly powerful enough to punch staples through wood. Plan B: picture-hanging nails + a hammer! The nails were small enough that they weren't really noticeable, and the hammer worked far better than the staple gun.

Poor sad, blurry phone photo...
And so, after much hammering at 1:00 in the morning, the loveseat was covered! Chaz tried it out...

...and since he approved, we hoisted it up two flights of stairs.

It's definitely not perfect, but I think it's a significant improvement upon the original! And if you want to do it yourself, here's what to do:
1. Acquire a piece of furniture.
2. Gather your materials:
- Furniture item (one)
- Drop cloths/fabric (estimate yardage)
- Straight pins (many)
- Hammer (one)
- Small nails (a lot)
3. Tuck your fabric into the crevices of the furniture item, making sure that the grain of the fabric is straight (otherwise you'll end up with diagonal lines, and unless that's what you're going for, it probably won't look great). Cut the fabric to fit the shape of the area you're working on, leaving about three inches of extra to fold under and attach to the frame of the furniture item.
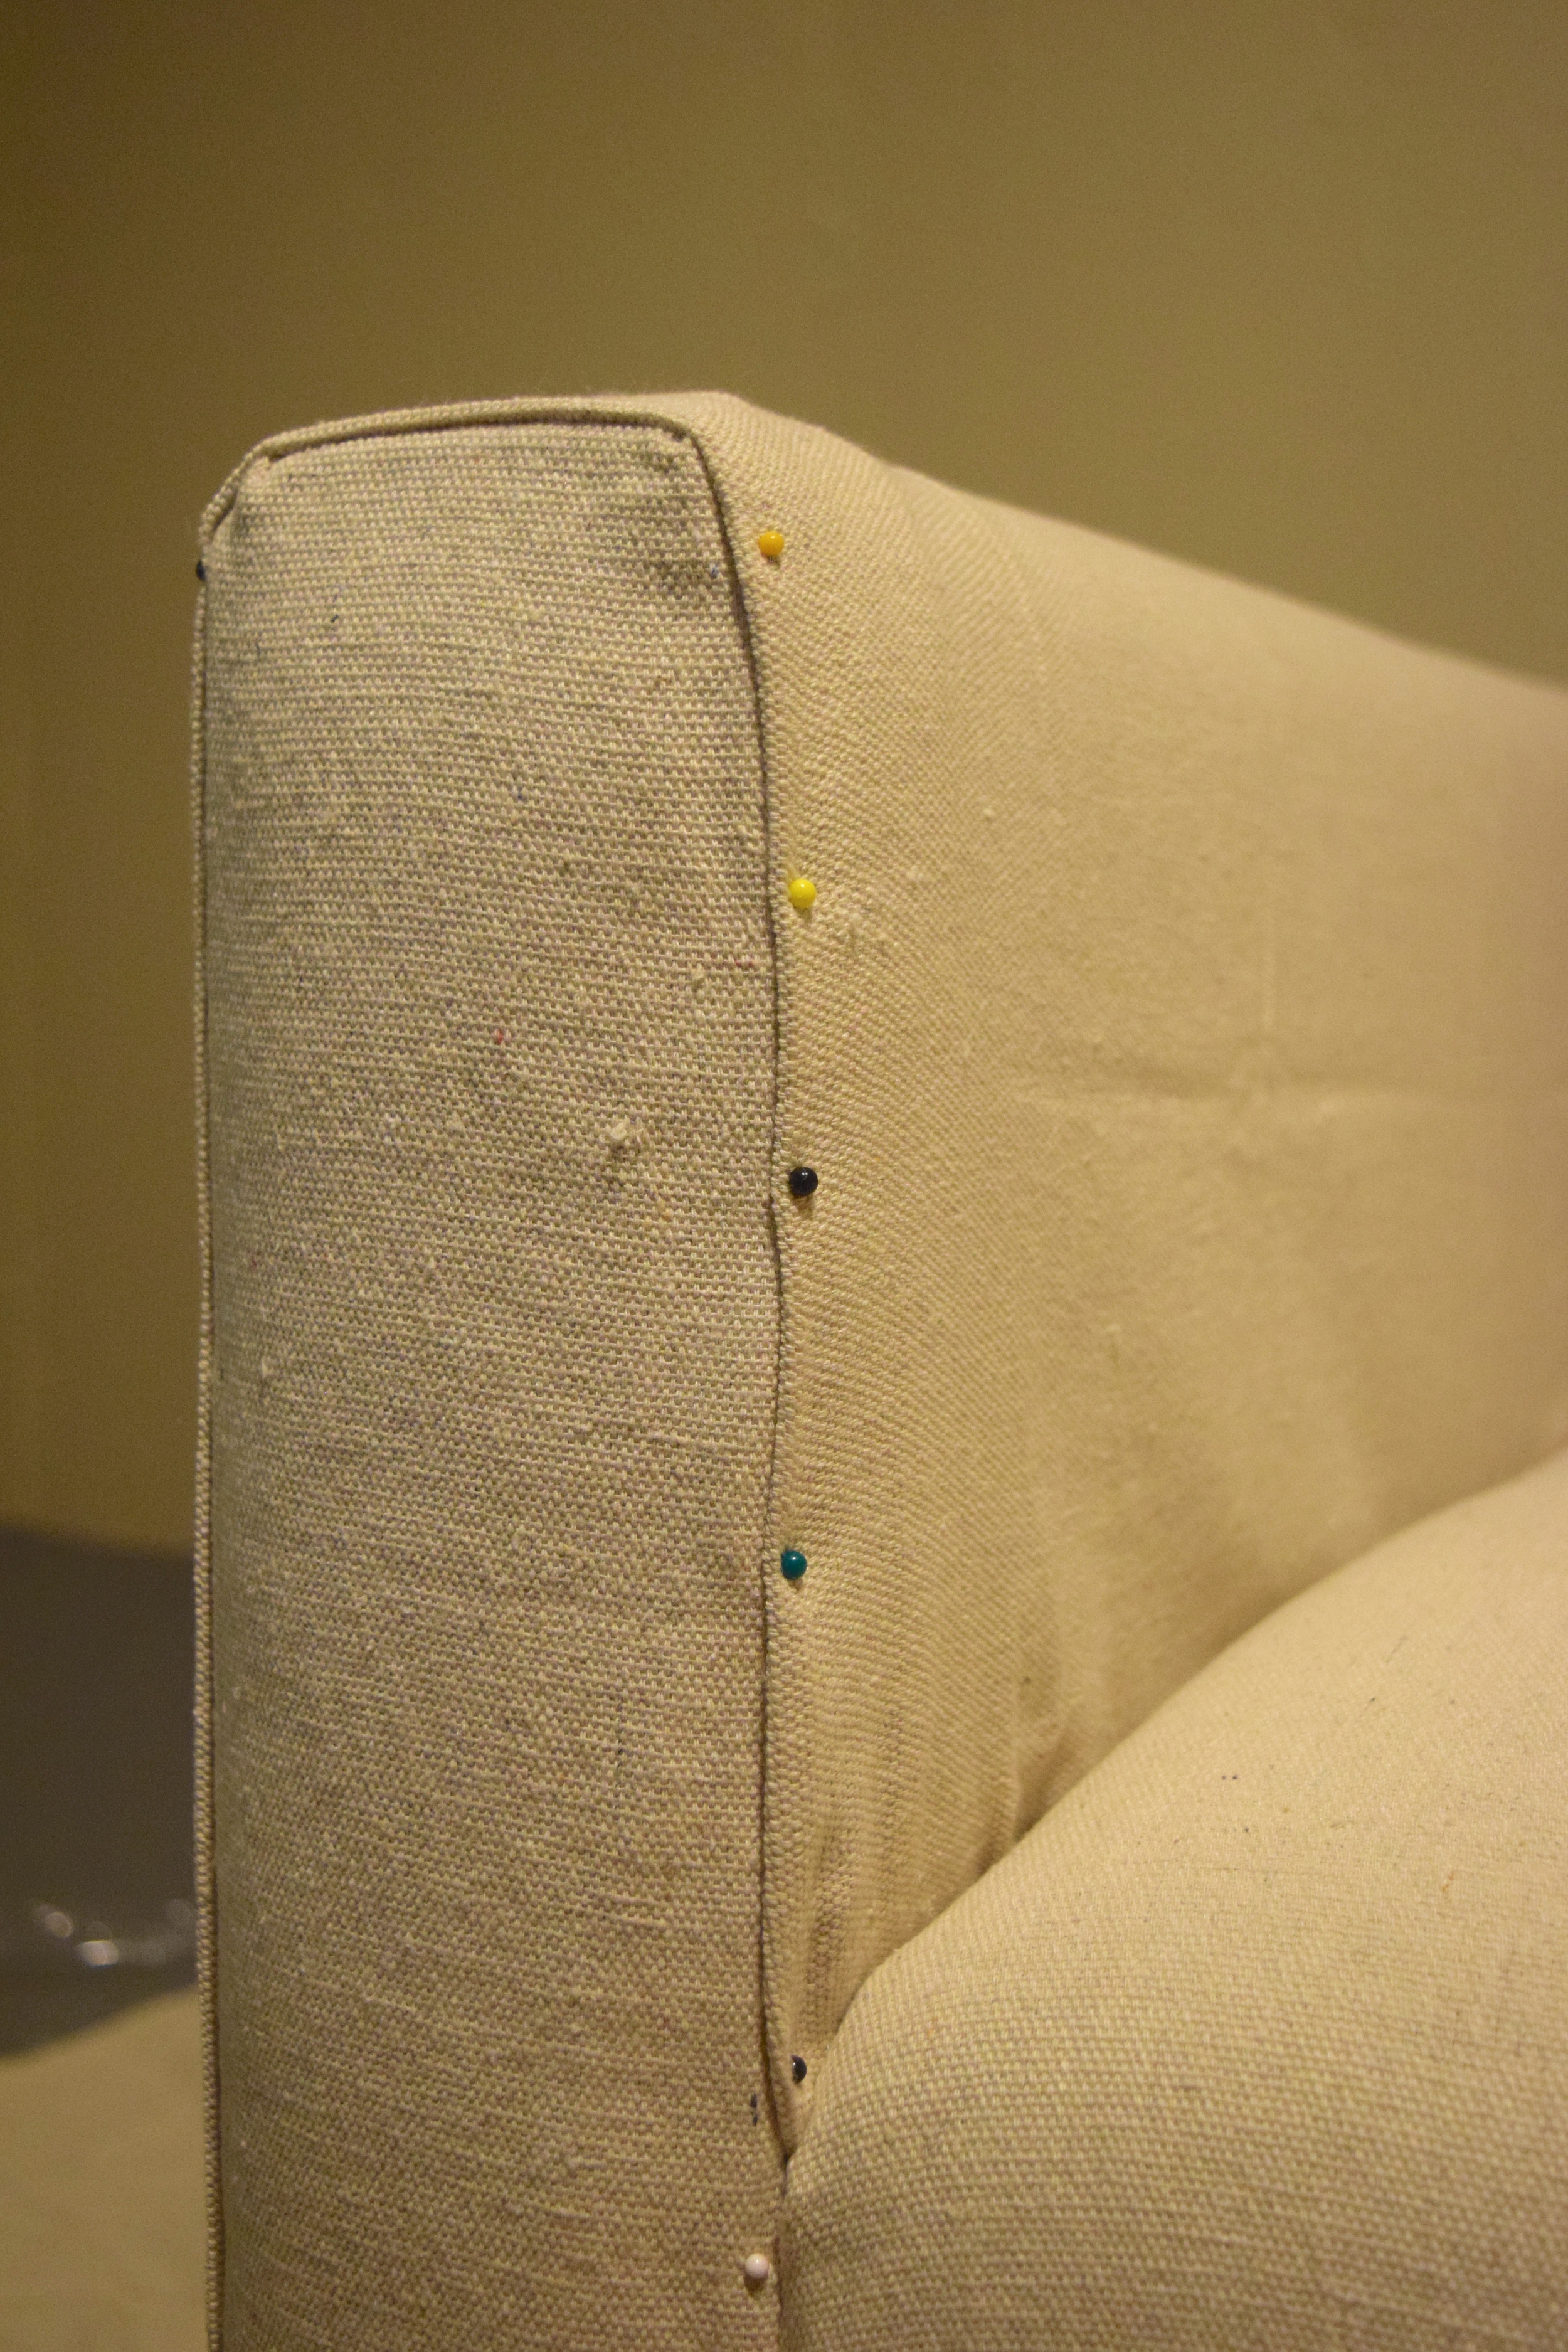
4. Pin your fabric pieces to the furniture item, following the lines of the furniture to guide which fabric pieces should get attached first. Keep in mind that your last piece will be the one that covers the most rough edges from other sides, which most likely means the back should be last.
5. When all your pins are in place, grab your hammer and nails and start replacing pins with nails. I found I was too ambitious in pinning, so I needed fewer nails than pins.
6. When all the nails are holding all the fabric pieces in place, step back, put your hands on your hips, and smile with satisfaction.
So there you have it: how to reupholster a piece of furniture without sewing a stitch.